 Save
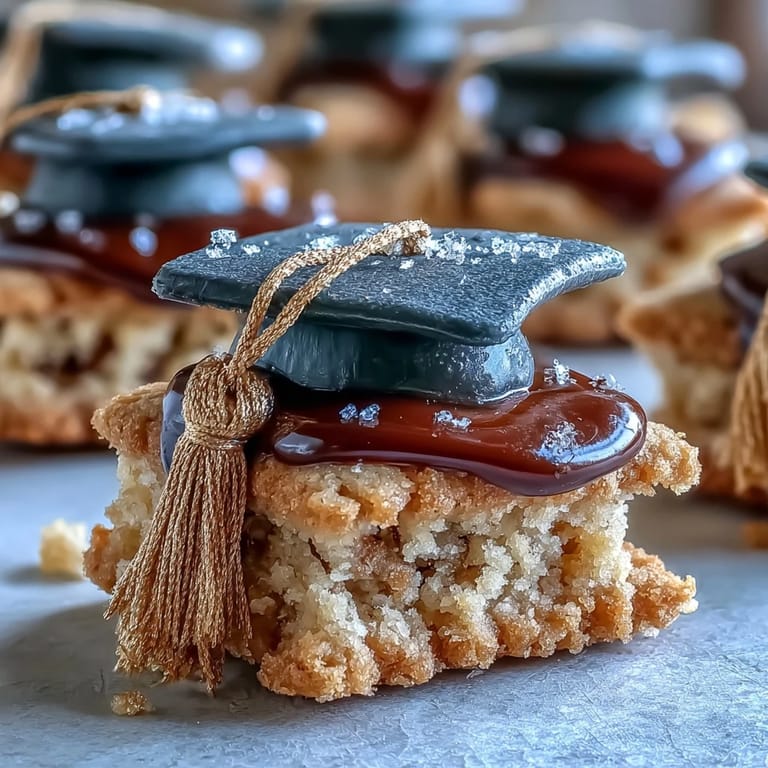
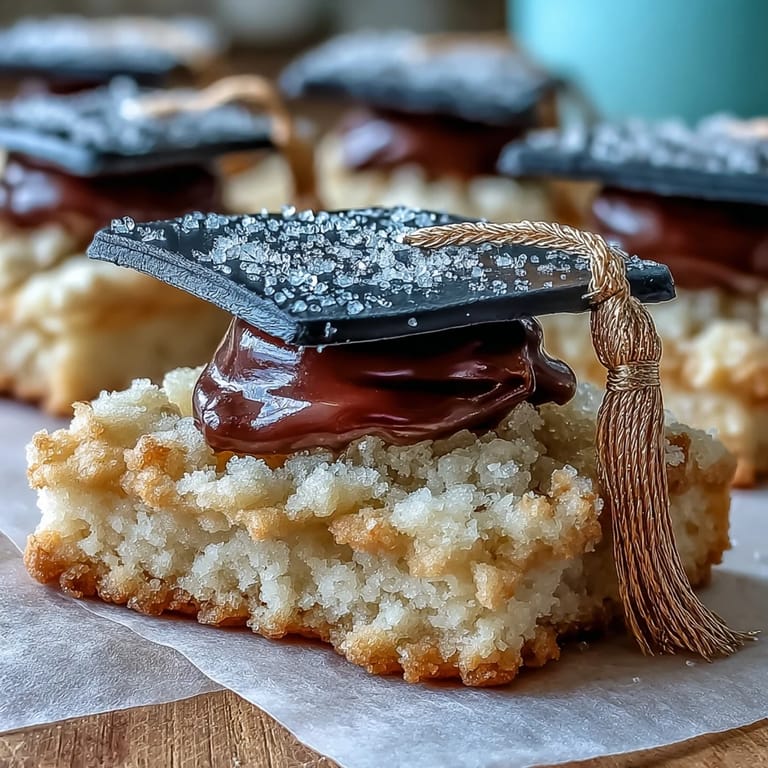
Save When my kitchen is filled with the promise of a celebration, I love to bake something that looks as festive as it tastes. These Graduation Cookies—diplomas and caps adorned with gold—started as a simple idea while brainstorming desserts for a friend’s graduation party. The gentle hum of the mixer, flecks of flour drifting onto my apron, and the anticipation of painting golden ribbons turn a quiet kitchen afternoon into a joyful crafting session. They’re an edible tribute to accomplishment: subtly sweet, beautifully decorated, and just whimsical enough to make everyone’s eyes light up. There’s simply nothing like passing around a plate of handmade cookies that match the energy of the day.
The first time I baked these cookies was the night before my cousin’s virtual graduation. There was glitter everywhere, a podcast playing, and the kitchen counter transformed into an art studio with piped icing designs and gold dust. We laughed at my first wobbly tassels and played with color combinations way past midnight. The batch became my stand-in applause, sent in a care package and met with happy texts and photos. That’s when I realized these cookies make the celebration feel real, no matter the distance.
Ingredients
- All purpose flour: Provides structure for the cookies and keeps them from spreading—always spoon and level for accuracy.
- Unsalted butter: Gives richness and that perfect melt-in-your-mouth texture; let it sit out until truly room temp.
- Granulated sugar: Sweetens and lightens the dough, creating delightful edges after baking.
- Large egg: Binds everything together—crack it into a small bowl first to avoid surprises.
- Pure vanilla extract: Adds warmth and depth; using real extract makes a subtle but important difference.
- Almond extract (optional): Brings a lovely bakery aroma, though lemon can be a bright alternative for another flavor twist.
- Salt: Balances sweetness and accentuates the buttery notes.
- Powdered sugar: Essential for smooth royal icing; always sift for lump-free results.
- Egg whites or meringue powder: Creates glossy peaks in the icing and helps it set—be sure your bowl is grease-free.
- Cream of tartar: Stabilizes the icing, making decorating less stressful.
- Vanilla extract (for icing): Rounds out the sugar flavor so your icing isn’t one-note.
- Black gel food coloring: Delivers deep color for the graduation caps without thinning the icing.
- Gold edible luster dust and clear alcohol or lemon extract: Transforms simple cookies into party-ready showpieces; mix just before using for the best metallic effect.
Tired of Takeout? 🥡
Get 10 meals you can make faster than delivery arrives. Seriously.
One email. No spam. Unsubscribe anytime.
Instructions
- Cream the butter and sugar:
- In a large bowl, beat the butter and sugar until it’s pale and fluffy, noticing the way the color lightens and the mixture looks airy.
- Add the egg and extracts:
- Blend in the egg, vanilla, and almond extract (if using)—don’t rush this, because that creamy texture is what leads to tender cookies.
- Work in the dry ingredients:
- Gradually add the flour and salt, mixing until the dough just forms; avoid overworking to keep cookies soft.
- Chill the dough:
- Divide in half, shape into discs, wrap, and chill for at least 45 minutes—this step makes perfect roll outs possible.
- Prep the oven:
- Heat to 350°F and line baking sheets with parchment so every cookie bakes up evenly golden.
- Shape the cookies:
- Roll the chilled dough to 1/4 inch thick and cut diploma and cap shapes, dusting your cutters in flour to keep things neat.
- Bake:
- Set cookies on your prepared sheets and bake 8 to 10 minutes, just until the edges barely take on color.
- Cool completely:
- Let the cookies cool on racks—resist nibbling so the icing will set just right.
- Make the royal icing:
- In a clean bowl, whip egg whites until frothy, slowly adding powdered sugar and cream of tartar until stiff peaks hold; stir in vanilla at the end.
- Divide and color:
- Portion out the icing: tint some black, leave some white, and keep a bit for gold; adjust consistencies if needed with water.
- Decorate:
- Pipe outlines, flood with color, then add details—embrace the meditative repetition of icing each cap and diploma.
- Add gold accents:
- Mix gold luster dust with a touch of alcohol or lemon extract, and gently paint those tassels and ribbons for your final flourish.
- Dry and serve:
- Let the decorated cookies dry for at least an hour before stacking or serving—admire your handiwork, then share with pride.
 Save
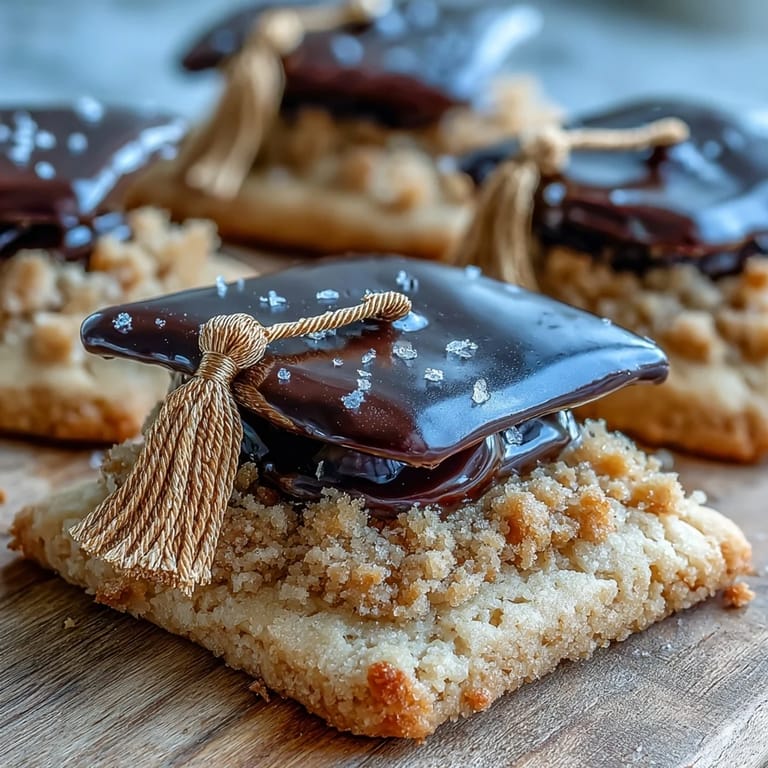
Save During my little brother’s graduation, he actually requested these cookies over cake—he said they looked like something out of a bakery window display. Seeing guests sneak seconds (and snap photos before eating) made that day even sweeter. It’s a reminder that a little extra care can turn simple baking into part of the celebration itself.
How to Get a Perfect Gold Finish
Brushes matter: use a brand-new, food-safe paint brush and make your gold luster dust mixture right before decorating for the brightest shine. I found that lightly layering the gold gives more dimension than a single thick stroke. Remember to go slow—a little gold accent goes a long way, especially on the tassels and ribbons.
Choosing and Using Cookie Cutters
Find cutters with defined edges—none of those too-basic shapes. To prevent sticking, I dip my cutters into a bit of flour each time. And if you don’t have the ‘official’ shapes, homemade stencils plus a small knife can stand in just fine; it only adds to the charm.
Storage and Gifting Tricks
Once the icing is dry, layer cookies between parchment in an airtight container, and they’ll keep their crispness for up to a week. If gifting, I line small boxes with tissue, then tuck in a few cookies with a handwritten tag—it always gets a smile. And don’t forget: let cookies cool and dry completely before wrapping, or the gold might smudge.
- Let royal icing set for a full hour for crisp designs.
- Always snap a photo before gifting—these won’t last long!
- Gold dust can be messy, so keep a paper towel handy for cleanup.
 Save
Save Every batch of graduation cookies is a little celebration on its own, and I hope yours brings as many smiles as mine always have. Congratulations to your grad—and happy baking!
Kitchen Questions
- → How do I prevent the cookies from spreading?
Chill the dough discs for at least 45 minutes before rolling and again after cutting the shapes on the sheet for 10–15 minutes if needed. Roll to a consistent 1/4-inch thickness and avoid overworking the dough; well-chilled dough maintains crisp edges during baking.
- → Can I use meringue powder instead of fresh egg whites?
Yes. Substitute 4 tablespoons meringue powder mixed with 6 tablespoons water for the two egg whites called for in the royal icing; this yields a stable, food-safe icing that is easier to store and handles well for piping and flooding.
- → What's the best technique for smooth flooded icing?
Pipe a slightly thicker outline to act as a dam, then flood with thinner icing of a looser consistency. Use a toothpick to nudge icing into corners and pop air bubbles. Work in sections and allow the base layer to crust before adding details to avoid bleeding.
- → How should I apply the gold luster for fine details?
Mix gold luster dust with a few drops of clear alcohol or lemon extract to form a paint. Use a small, food-safe fine brush to apply thin layers to tassels and ribbons, allowing each layer to dry before adding more for deeper color and shine.
- → How long can decorated cookies be stored?
Once icing is fully dry, store cookies in a single layer or separated with parchment in an airtight container at room temperature for up to one week. Keep them in a cool, dry place away from direct sunlight to preserve color and texture.
- → Any tips for achieving clean piping lines on small details?
Use small piping bags with fine metal tips, maintain a steady hand, and keep icing at a slightly thicker consistency for outlines. Let outlines set briefly before flooding or adding metallic paint to avoid smudging delicate details.