 Save
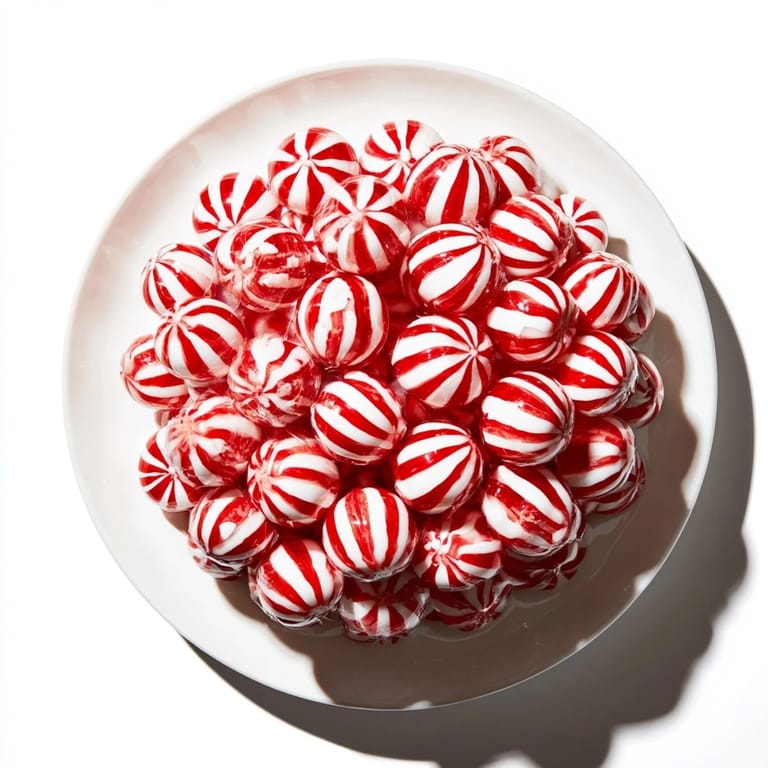
Save A fun and festive DIY hack to create a striking peppermint candy bowl—perfect as a holiday gift or party centerpiece. This edible bowl is made entirely from peppermint candies and requires no baking!
I enjoyed making this peppermint candy bowl with my family during the holidays, and it was a big hit at our party.
Ingredients
- Candy: 40–50 round peppermint hard candies (unwrapped)
Tired of Takeout? 🥡
Get 10 meals you can make faster than delivery arrives. Seriously.
One email. No spam. Unsubscribe anytime.
Instructions
- Preheat Oven:
- Preheat your oven to 300°F (150°C).
- Prepare Baking Sheet:
- Line a baking sheet with parchment paper or a silicone baking mat.
- Arrange Candies:
- Arrange the peppermint candies in a tight circular pattern (about 7–8 diameter) on the parchment, ensuring edges touch but do not overlap.
- Melt Candies:
- Place the baking sheet in the oven and heat for 6–8 minutes, watching closely. Remove when candies have melted together but before they bubble or brown.
- Shape Bowl:
- Let cool for 30 seconds, then while pliable quickly drape the melted candy disc (parchment side up) over an inverted heatproof bowl to form a bowl shape. Gently mold with oven mitts if needed.
- Cool and Harden:
- Allow the bowl to cool completely and harden (about 10 minutes), then carefully remove the parchment and lift the candy bowl off the mold.
- Fill or Gift:
- Fill with treats or wrap for gifting.
 Save
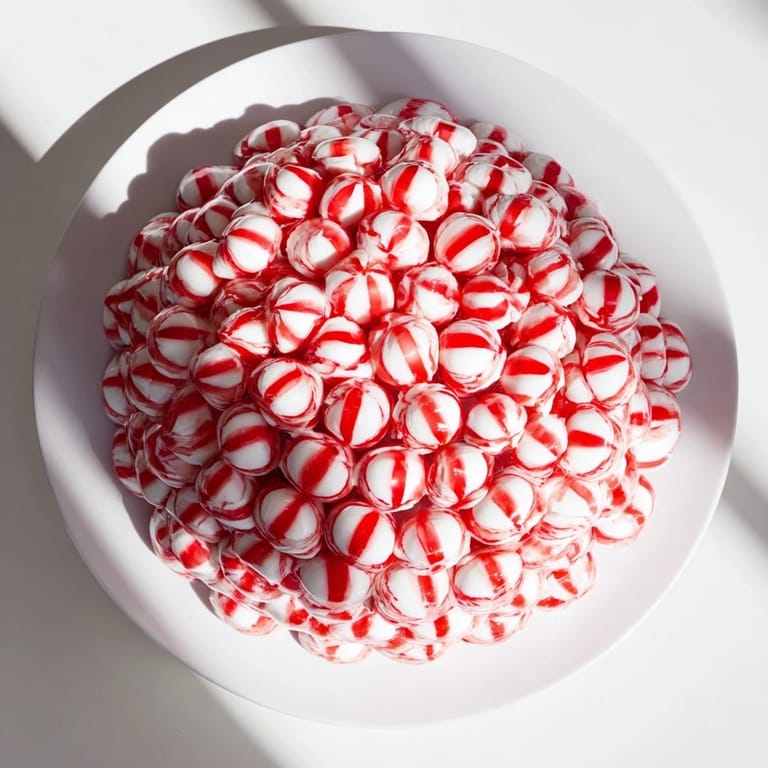
Save Making this with my kids turned into a joyful holiday tradition we all look forward to every year.
Notes
Use colored peppermint candies or mix in spearmint for extra flair. Store the bowl wrapped in cellophane to prevent sticking.
Required Tools
Baking sheet, parchment paper or silicone baking mat, heatproof mixing bowl for shaping, and oven mitts are essential tools for this project.
Allergen Information
Contains none of the major allergens but verify candy ingredients as some brands may process in facilities with nuts or dairy.
 Save
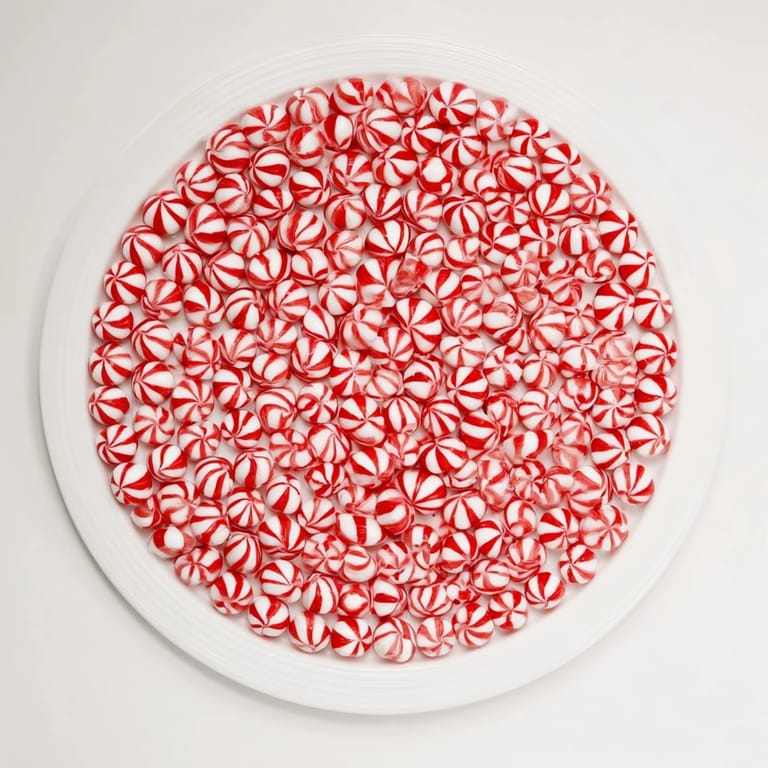
Save This peppermint candy bowl is a simple yet impressive holiday craft that delivers on both appearance and taste.
Kitchen Questions
- → How do I shape the peppermint candies into a bowl?
After melting the candies into a disc shape, quickly drape the warm, pliable sheet over an inverted heatproof bowl. Gently press to mold, then allow it to cool and harden before removing.
- → What temperature should I use to melt the candies?
Preheat your oven to 300°F (150°C) and bake the candies for 6–8 minutes, watching carefully to melt without bubbling or browning.
- → Can I use colored peppermint candies for this?
Yes, colored or spearmint candies can be mixed in for extra visual flair without affecting the shaping process.
- → How should I store the finished bowl?
Store the hardened bowl in a cool, dry place away from moisture to maintain its shape and texture.
- → Is this suitable for people with allergies?
Check candy packaging for allergen information since some brands might be processed with nuts or dairy. The candies themselves contain no major allergens.