 Save
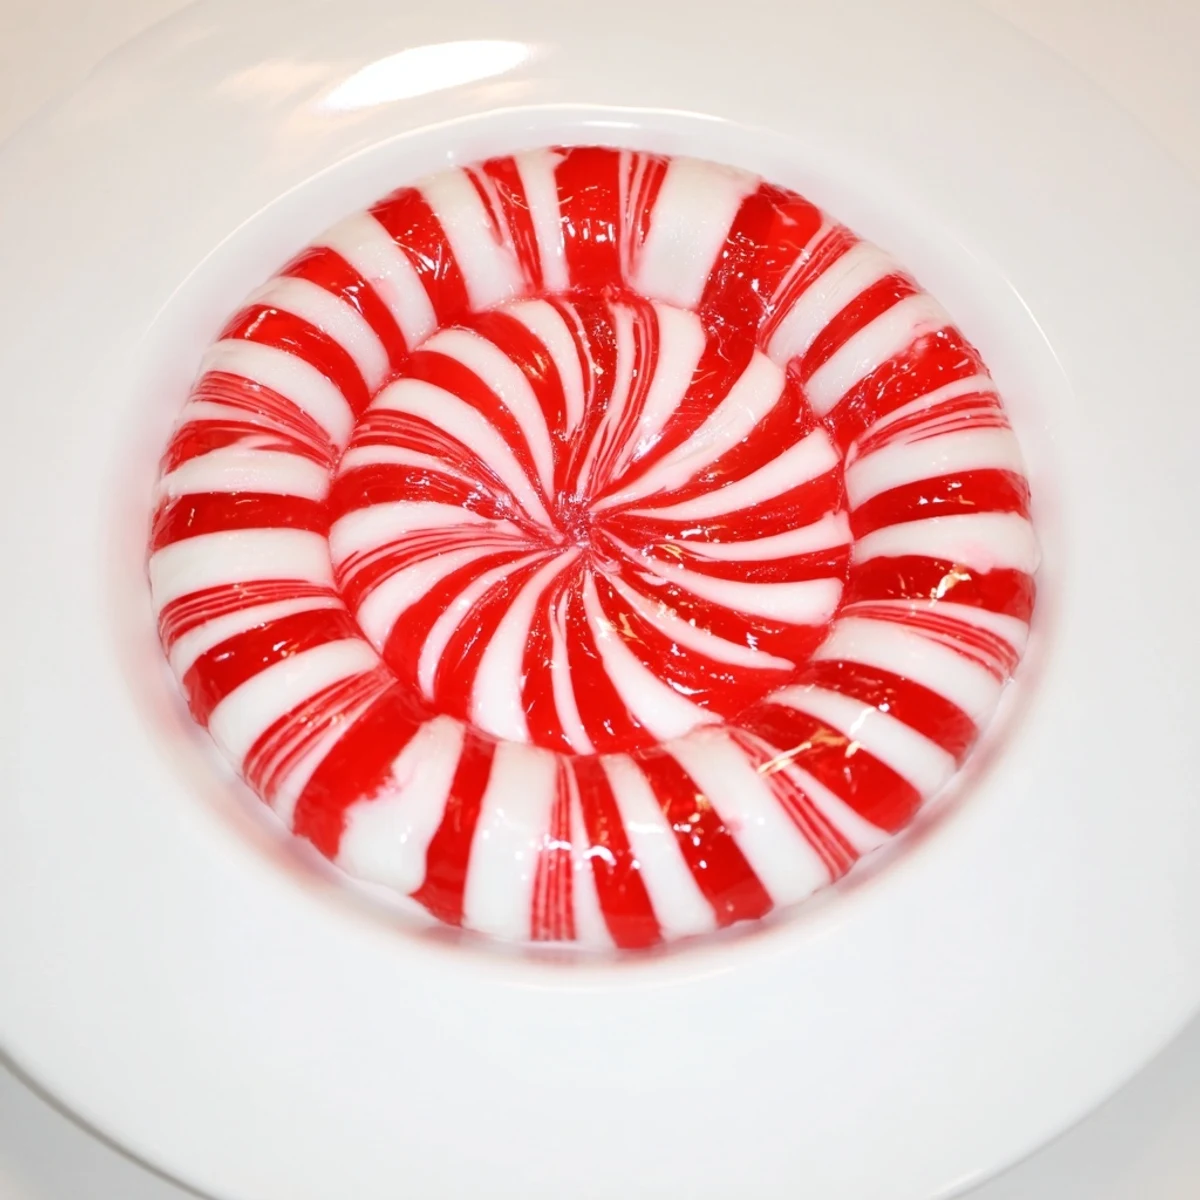
Save A festive and edible holiday bowl made entirely from peppermint candies is the ultimate no-bake centerpiece for your dessert table. Whether you use it to serve treats or fill it with goodies for gifting, this holiday craft is both fun and functional.
I started making peppermint candy bowls with my family a few years ago and they quickly became our favorite holiday kitchen activity. Kids love arranging the colorful candies, and everyone enjoys using the finished bowl to hold cookies and wrapped candies at parties.
What's for Dinner Tonight? 🤔
Stop stressing. Get 10 fast recipes that actually work on busy nights.
Free. No spam. Just easy meals.
Ingredients
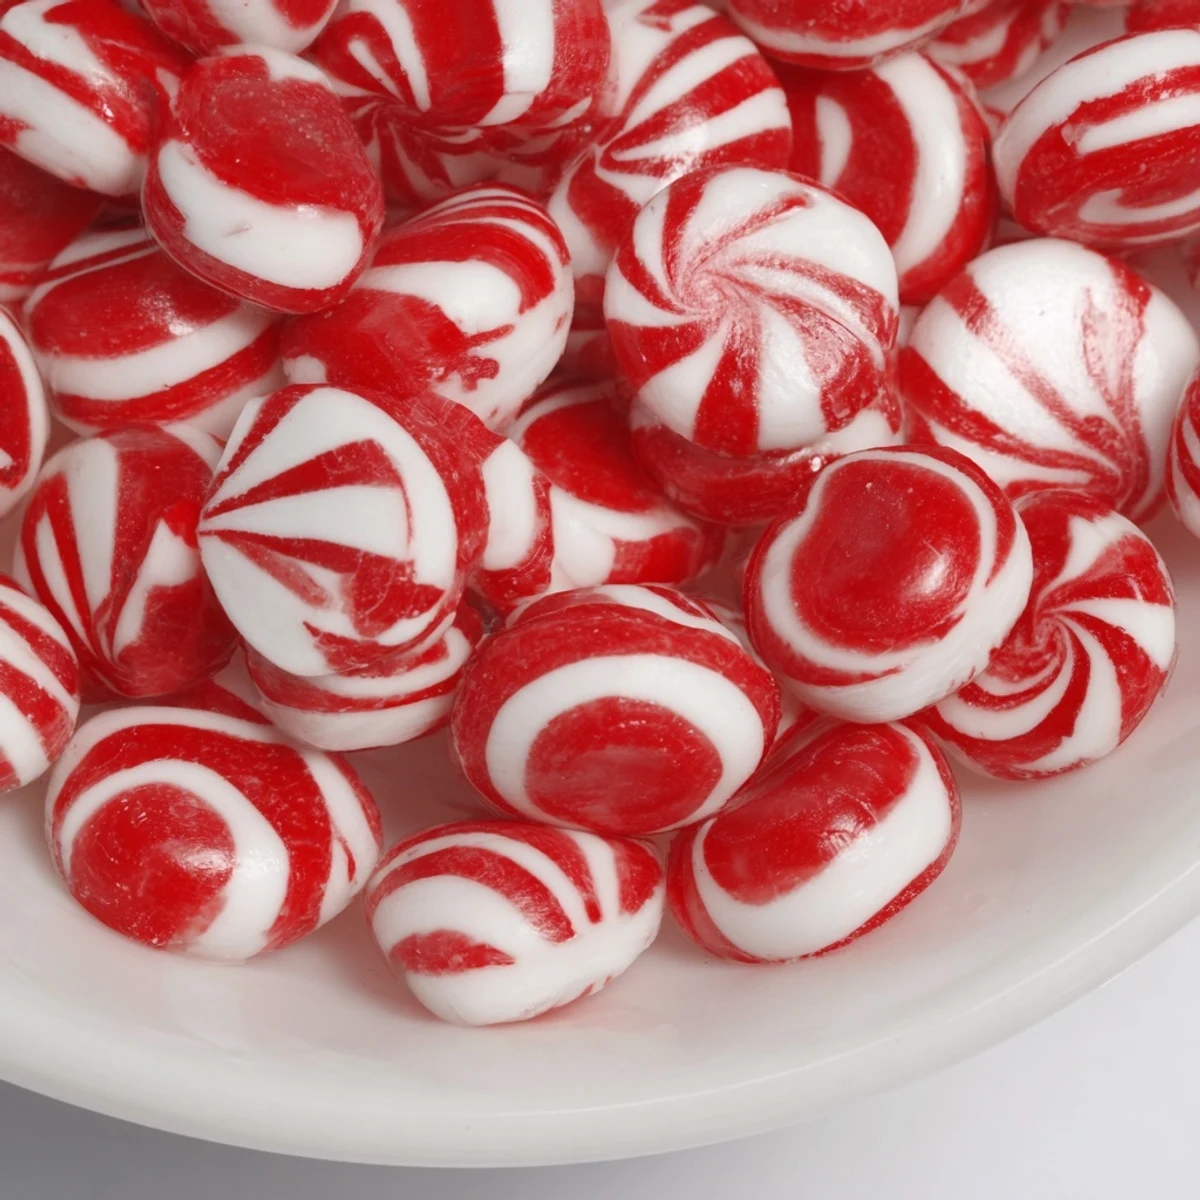
- Peppermint hard candies: 30–36 round, unwrapped
Tired of Takeout? 🥡
Get 10 meals you can make faster than delivery arrives. Seriously.
One email. No spam. Unsubscribe anytime.
Instructions

- Preheat oven:
- Preheat your oven to 300°F (150°C).
- Prepare baking sheet:
- Line a baking sheet with parchment paper or a silicone baking mat.
- Arrange candies:
- Create a tightly packed circle of peppermint candies on the prepared baking sheet to form a disc about 8–9 inches in diameter. Make sure the edges of candies touch.
- Bake:
- Bake for 7–9 minutes, watching closely until candies melt and fuse together but do not brown.
- Cool slightly:
- Let the melted candy disc cool for 1 minute so it becomes pliable but not too hot to handle. Use oven mitts or gloves.
- Shape bowl:
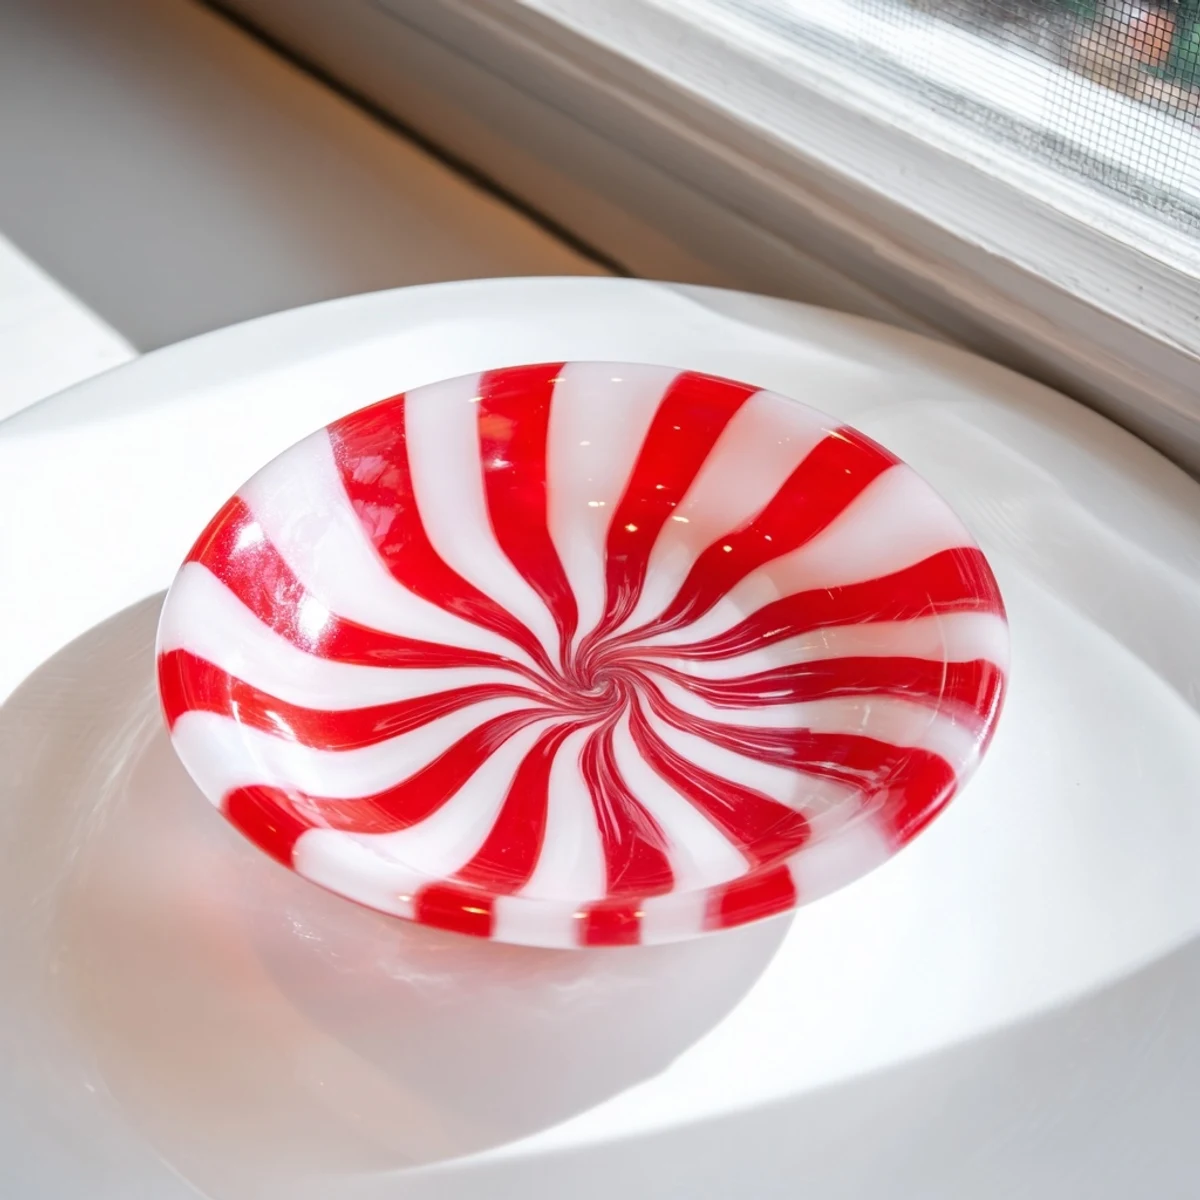
- Invert a heatproof bowl upside down, carefully lift the candy disc with parchment, and drape it over the inverted bowl. Gently press to shape the sides and hold for a few seconds.
- Cool completely:
- Let the bowl set and cool completely for about 20 minutes.
- Remove and fill:
- Peel off parchment paper and fill the peppermint bowl with holiday treats as desired.
 Save
Save Our family loves to use this peppermint bowl as a cheerful centerpiece. Every year, the kids take turns filling it with their favorite holiday treats for movie nights and gatherings.
Still Scrolling? You'll Love This 👇
Our best 20-minute dinners in one free pack — tried and tested by thousands.
Trusted by 10,000+ home cooks.
Required Tools
Baking sheet, parchment paper or silicone mat, oven, heatproof bowl for shaping, oven mitts or heat-resistant gloves
Allergen Information
This recipe contains none of the top 8 allergens, but always double-check candy packaging for potential cross-contamination or hidden allergens.
Nutritional Information
Each serving (about 1/8th of the bowl) has approximately 65 calories, 0 g fat, 17 g carbohydrates, and 0 g protein.
 Save
Save 
This showstopping holiday bowl is a conversation starter and makes every party table a bit sweeter. Enjoy crafting and sharing with loved ones!
Kitchen Questions
- → What type of candies should I use?
Use 30–36 round peppermint hard candies, unwrapped, for the best melting and shaping results.
- → Can I use different candy colors or flavors?
Yes, mixing green, red peppermint, or fruit-flavored hard candies can add decorative color and variety.
- → How do I shape the candy bowl effectively?
After melting, carefully lift the candy disc with parchment and press it over an inverted heatproof bowl to shape, holding until it sets.
- → What treats work best inside the finished bowl?
Fill with wrapped candies, cookies, or dry snacks to keep the bowl sturdy and avoid softening from moisture.
- → How should I store the peppermint candy bowl?
Keep it in a cool, dry place to prevent stickiness and maintain its shape and texture.
